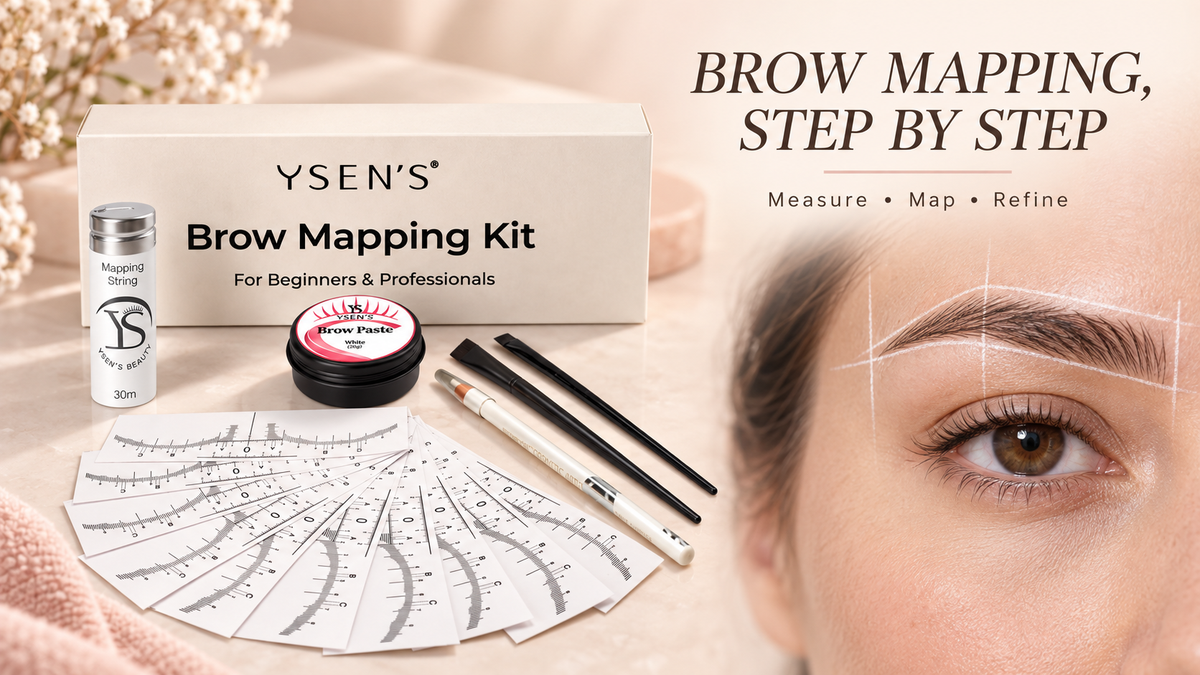
Brow mapping is a planning method used to mark the proposed start, arch, tail and outline of each eyebrow before shaping, tinting, brow lamination, microblading or PMU. It gives the artist visible reference lines, but it does not force two naturally different brows into identical shapes. The final design should respect the client’s facial structure, natural hair growth, preferences and the requirements of the service that follows.
What Is Brow Mapping?
Brow mapping uses temporary points, lines and outlines to plan an eyebrow shape before the artist removes hair or begins another brow service. The map creates a visual framework for comparing the two sides of the face and discussing the proposed shape with the client.
The purpose is balance rather than mathematical duplication. One brow may sit slightly higher, grow in a different direction or contain less hair through the arch or tail. A useful map identifies those differences early so the artist can make deliberate adjustments instead of discovering them after tint, wax or pigment has been applied.
What Tools Do You Need for Brow Mapping?
A complete mapping setup may include a brow ruler or ruler templates, pre-inked mapping string, a mapping pencil, white brow paste and angled brushes. Each tool has a different role:
- Brow ruler or ruler templates: help locate and compare central, start, arch and tail reference points.
- Pre-inked mapping string: transfers straight horizontal, vertical and diagonal guidelines without separately applying pigment to the thread.
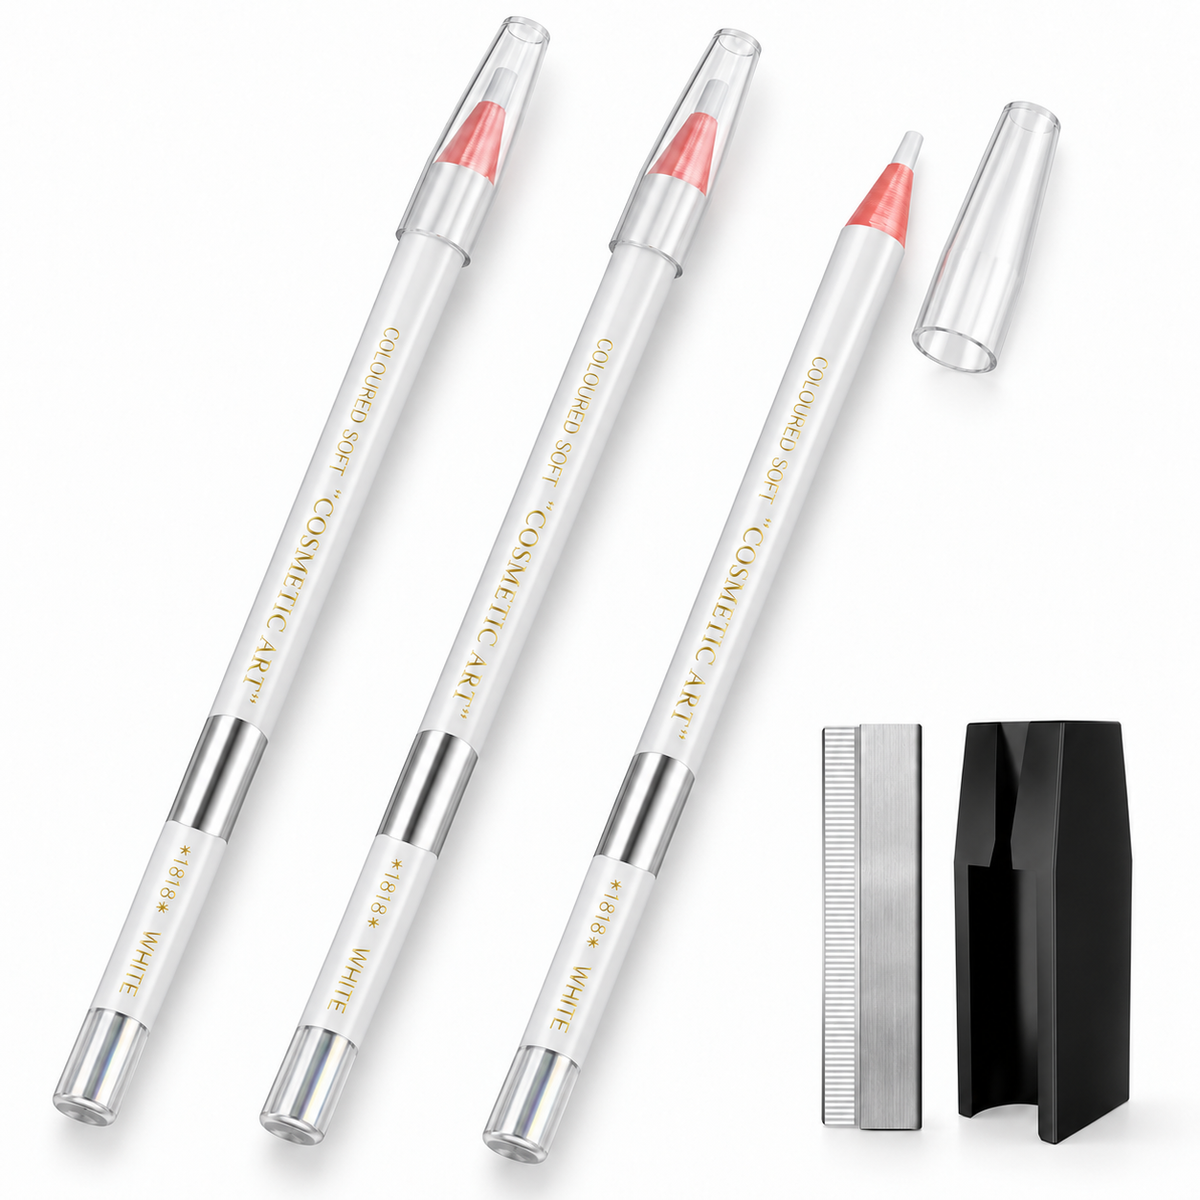
- Mapping pencil: marks reference points, connects the proposed outline and supports small corrections.
- White brow paste: frames the proposed shape so the outline remains easy to see before tinting or another service.
- Angled brushes: apply paste around broad areas and refine narrow edges.

If you already own rulers, pencils and brushes, a standalone 30 m pre-inked brow mapping string may be sufficient. For a coordinated workstation, the YSEN’S Professional Brow Mapping Kit includes the string, 20 g white paste, ruler templates, mapping pencil and two angled brushes. You can also compare both options in the Brow Mapping Kits collection, or use the pencil, string and paste comparison to choose only the tools your workflow needs.
Where Should Eyebrows Start, Arch and End?
Many brow maps begin with three landmarks: the head or start, the highest point of the arch and the tail. These points are usually estimated from facial landmarks and then adjusted for the individual client.

1. Centre reference
Begin by identifying the centre of the face around the bridge of the nose. This becomes the primary vertical reference for comparing the left and right sides. Do not assume that every facial feature is perfectly centred; use the line as a starting point and assess the complete face.
2. Brow start
A common starting reference is a vertical line rising from the side of the nose toward the inner brow. Check how this point relates to the inner eye area, natural hair growth and the spacing between the brows. Moving the start too far inward can make the expression look heavy; moving it too far outward can make the brows appear disconnected.
3. Brow arch
This guide uses an outer-iris reference: estimate the arch along a diagonal from the side of the nose through the outer edge of the iris while the client looks straight ahead. Other professional methods use a pupil-based reference. Neither should be treated as a universal formula. Assess the proposed point against the client’s natural brow, facial structure and agreed design.
4. Brow tail
The tail reference is commonly found with a diagonal line from the side of the nose toward the outer corner of the eye. The proposed tail should then be checked against the brow start and lower outline. Avoid extending it automatically if doing so pulls the brow downward or creates a shape unsupported by natural hair.
How to Map Eyebrows Step by Step
This is a measuring and drawing workflow. Place it at the appropriate stage of your chosen service protocol; it does not set the order for applying tint, lamination solutions or PMU products. Use the paste-framing step only when appropriate for that protocol.
Step 1: Prepare the brow area
Follow the preparation and hygiene requirements of the service you plan to perform. Remove makeup and residue with a suitable cleanser and let the area dry according to the product directions. Position the client in the working position required by your protocol, and assess the design upright from the front with the forehead relaxed before proceeding.

Step 2: Mark the centre and key points
Use the ruler and mapping pencil to mark the centre reference, both brow starts, proposed arches and tails. Compare the distance and height of corresponding points, but do not chase perfect numerical equality when the client’s bone structure and brow growth differ.
Step 3: Add horizontal guidelines
Pull a fresh section of pre-inked mapping string taut and press it lightly to transfer the main horizontal guides. Depending on your method, these may include the lower brow line, upper brow line and a reference crossing the arch area. Keep the string controlled so each transferred line is clear rather than doubled or blurred.

Step 4: Connect the outline
Use the pencil to connect the start, arch and tail points along the proposed upper and lower boundaries. Work with light, adjustable marks. The outline should follow a coherent direction through the brow rather than creating abrupt corners simply to touch every measured point.
Step 5: Frame the shape with white paste
Apply white brow paste around the outside of the proposed outline. A wider angled brush can cover larger areas, while a thinner angled brush helps clean the border near the arch and tail. Keep the intended brow area visible rather than covering the hairs that still need assessment.

Step 6: Review from the front
Step back and assess the entire face. Compare the brow starts, peak heights, tail directions, overall thickness and negative space around the map. Ask the client to relax their forehead if they have raised or tightened it during the process.
Step 7: Refine and obtain approval
Make individual corrections with the pencil, paste or a clean applicator. Explain any intentional difference retained because of natural asymmetry. Obtain the client’s approval before moving to tinting, lamination, hair removal, microblading, PMU or cosmetic tattoo work.
A final brow mapping check before you proceed
| Check | What you want to see | If it looks wrong |
|---|---|---|
| Starts and spacing | Visual balance around the face, with the natural growth still visible | Recheck the centre reference and view the client with a relaxed forehead |
| Arches and tails | Directions that suit each natural brow and the agreed design | Adjust the local point rather than forcing every measurement to match |
| Thickness and edges | One readable outline, not several competing marks | Remove the rejected line and redraw the short section |
| Client review | An approved design that still looks balanced from normal viewing distance | Discuss the change before starting the next service |
Practice example, not a client case: if one proposed tail appears lower, first relax the forehead and review both sides from the front. Compare the tail with the lower outline and available hair. Correct that section, clear the old mark and review again; do not automatically move the other brow to copy it.
Brow Mapping Before Different Services
Before brow tinting
Mapping can define the proposed tint boundary and help the artist review the shape before colour is applied. White paste provides a visible frame; do not assume it substitutes for any skin-protection product required by your tint system. Confirm compatibility and follow the tint manufacturer’s preparation, patch-testing and application directions. The mapping kit does not contain tint, dye or treatment solutions.
Before brow lamination
An initial map can help discuss the intended shape, but lamination changes the direction of the hairs. Reassess the outline after the hair has been positioned as directed by your selected system. Follow that system’s order for cleansing, lamination, tinting and shaping. Do not assume mapping paste can remain in place during chemical processing or replace a specified barrier product.
Before microblading, PMU or cosmetic tattoo services
A detailed pre-draw allows the artist and client to review the intended shape before pigment work begins. These services require appropriate professional training, hygiene procedures, local compliance and informed client approval. A cosmetic mapping product should not be assumed to be sterile or suitable for broken skin. Prepare the treatment area and manage temporary marks according to the selected PMU protocol. Brow mapping tools support planning; they do not replace service-specific education or professional judgment.
Keep the outline readable
Three errors make correction harder: tracing over rejected lines, covering the natural hairline with too much paste and extending a tail just to meet a measurement. Keep one clear outline and assess the whole face before committing.

Brow Mapping Hygiene
- Use a fresh section of mapping string for every client and discard it after use.
- Do not allow used string to retract into the dispensing container.
- Use clean brushes and measuring tools for each client.
- Clean reusable tools according to their material and professional hygiene requirements.
- Do not return dispensed paste to its original container.
- Protect pencils, brushes and stored components from contamination.
Build a Complete Brow Mapping Setup
Choose individual mapping string for an established workstation or select a complete kit when you need coordinated tools for measuring, marking, framing and reviewing a proposed brow shape.
Frequently Asked Questions
What is brow mapping string used for?
Pre-inked mapping string transfers straight reference lines across the brow area. These lines can help compare brow height, position, start, arch and tail points during the planning process.
Is brow mapping suitable for beginners?
Beginners can learn the measuring and drawing process, but anyone working on a client should also understand hygiene, product directions and the professional protocol for the service that follows.
Diagram note: the diagrams explain planning concepts. They are not client treatment records, fixed measurement rules or substitutes for product instructions, suitable training and individual assessment.

Leave a comment
This site is protected by hCaptcha and the hCaptcha Privacy Policy and Terms of Service apply.