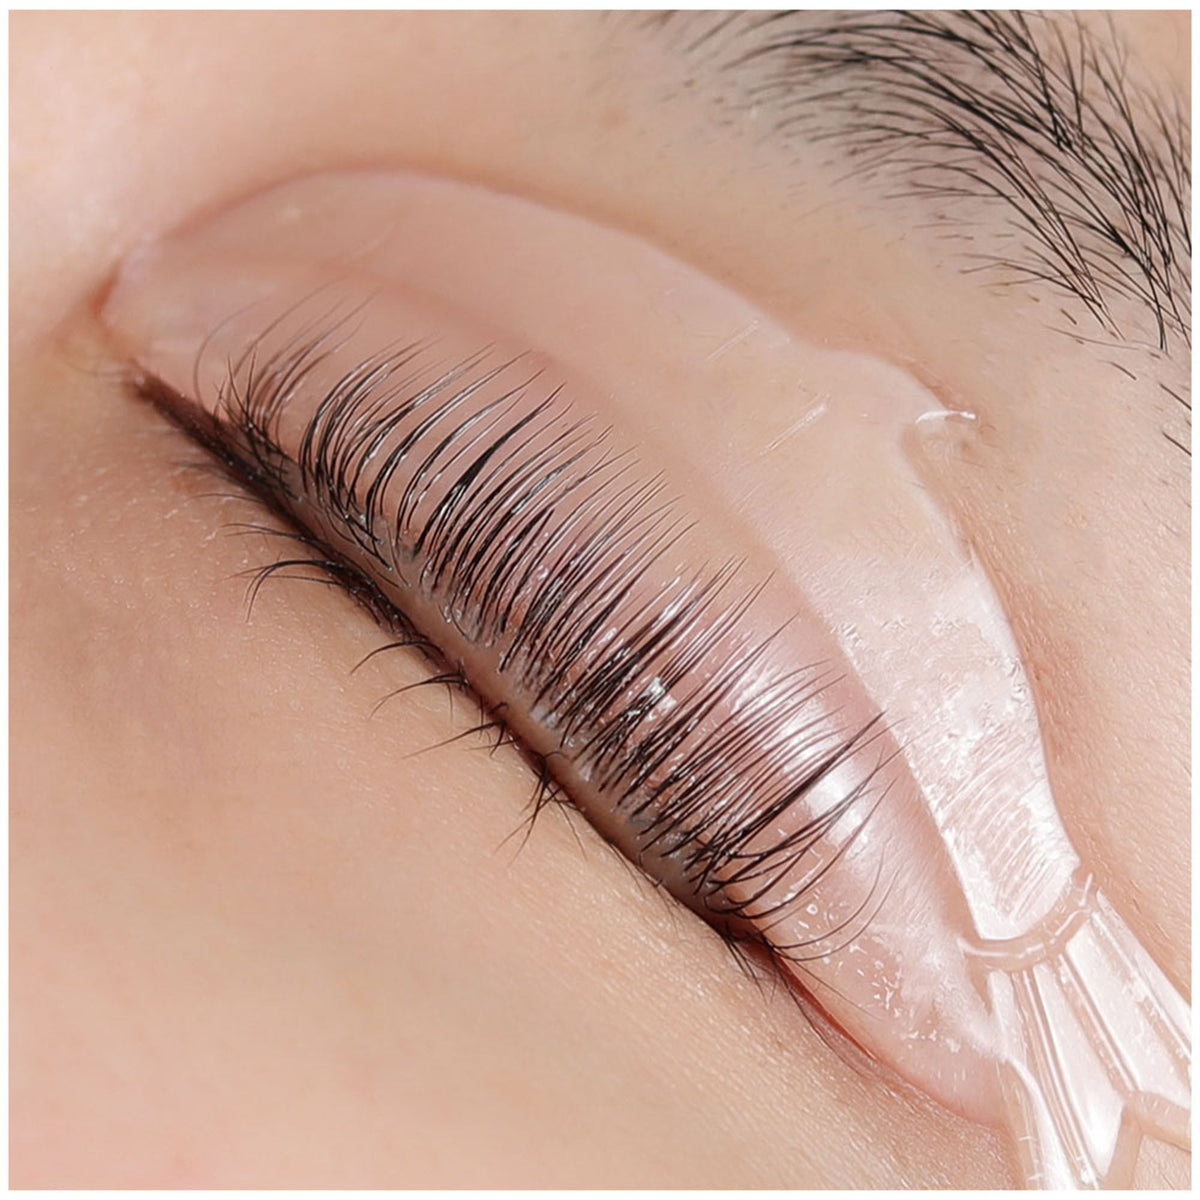
Direct Answer: To help a lash lift pad stay in place, start by selecting a shape that follows the eyelid, preparing the skin and pad according to the product directions, and positioning the pad close to the natural lash line without touching the eye. Dry-fit before applying treatment products. If the corners still lift, reassess the pad size, shape, surface preparation and permitted fixation method.

Watch: practical fixes when natural lashes will not stay attached during a lash lift.
Why Lash Lift Pad Stability Matters
A lash lift pad, rod or shield provides the surface on which the natural lashes are arranged. When that surface moves, the lash direction may also change. This can make separation more difficult and may contribute to crossed lashes, inconsistent placement or uneven styling direction.
Pad movement is not always an adhesive problem. It may indicate that the selected pad does not follow the eyelid, the surface has not been prepared correctly, the pad is positioned poorly or the natural lashes are creating excessive pull.
Professional artists should identify the cause before adding more balm, adhesive or tape. Excess product can make the working area less controlled and may interfere with clean lash separation.
Why Does a Lash Lift Pad Keep Lifting?
1. The Pad Shape Does Not Match the Eyelid
Eyelids differ in width, curvature and available space. A shield that sits securely on one client may lift at the corners on another.
Check whether:
- The pad follows the full width of the lash line.
- The centre sits flat without forcing the corners upward.
- The inner corner is pressing into the nose or inner eye area.
- The outer edge extends unnecessarily beyond the working area.
- The pad feels too rigid or too curved for the available eyelid space.
If the centre is stable but both corners lift, the overall curvature may not match the eyelid. If only one corner lifts, the pad may be off-centre, too wide or positioned at an unsuitable angle.
2. The Pad Size Is Incorrect
Size influences more than the finished curve. It can also affect how much of the pad contacts the eyelid.
A pad that is too large may extend beyond the useful eyelid area. A pad that is too small may not provide enough width or working surface for controlled placement. However, size labels are not standardised across brands, so assess the actual dimensions and shape rather than relying only on an XS, S, M, L or XL label.
For more information about comparing lash length, curve and pad size, read the Beginner’s Guide to Choosing Lash Lift Pads.
3. The Eyelid Surface Has Residue
Skincare, makeup, natural oils or cleanser residue may reduce the contact between the pad and the eyelid. Prepare the area according to the lash lift system and pad instructions, and make sure the working surface is clean and appropriately dry before fitting the pad.
Do not use aggressive solvents or unapproved degreasers around the eye. A product being effective at removing oil does not automatically make it suitable for the eyelid area.
4. The Silicone Surface Has Residue
Reusable pads may retain residue from previous products or cleaning if they have not been prepared according to their care instructions. This may affect how the surface behaves during the next service.
Before use:
- Inspect the pad under good lighting.
- Check for visible balm, adhesive, lint or cleanser residue.
- Confirm that the pad is completely prepared according to its product instructions.
- Do not use a pad that is damaged, distorted or cannot be prepared hygienically.
Cleaning, disinfection and reuse requirements vary between products. Always follow the directions supplied with the specific pad rather than applying one cleaning method to every material.
5. The Pad Is Too Far From the Lash Line
A large gap between the pad and the natural lash roots increases the distance the lashes must travel before reaching the working surface. This can create additional pull and make controlled placement more difficult.
The pad should normally sit close enough to support smooth root-to-tip placement while remaining clear of the waterline and eye surface. The exact position must follow the directions for the individual product and treatment system.
6. The Natural Lashes Are Pulling Against the Pad
Dense, downward-growing or resistant lashes may place more tension on the pad during wrapping. Attempting to move the full lash line at once can disturb an otherwise stable fit.
Work in controlled sections. Arrange a small number of lashes, check their direction and continue gradually. If the pad begins to move, stop and correct the fit before proceeding.
7. Too Much Balm or Adhesive Is Being Used
More product does not always provide more control. An excessive layer may allow lashes to slide, make separation difficult or create unnecessary buildup on the working surface.
Use only the amount and application method stated in the relevant product directions. If the pad repeatedly moves despite additional adhesive, return to the fitting stage and reassess the shape, size and position.
How to Dry-Fit a Lash Lift Pad
Dry-fitting allows the artist to assess pad stability before treatment lotions are introduced.
Step 1: Assess the Natural Lashes and Eyelid
Check:
- Natural lash length
- Lash density
- Natural growth direction
- Eye width
- Eyelid curvature
- Available space above the lash line
- Inner- and outer-corner shape
Do not choose a pad based only on the longest lashes in the centre. The inner and outer lashes also need an appropriate working surface.
Step 2: Prepare the Working Area
Remove visible makeup and residue using products suitable for the eye area and compatible with the lash lift system. Prepare the pad according to its directions. The eyelid and pad should not have visible oil, lint or leftover product that may interfere with placement.
Step 3: Centre the Pad
Place the pad over the closed eyelid and align its working surface with the natural lash line. Check the centre first, followed by the inner and outer corners.
The pad should not:
- Touch the eye surface.
- Sit on the waterline.
- Press uncomfortably into the inner corner.
- Pull the eyelid into an unnatural position.
- Create a large gap above the lash roots.
Step 4: Check Both Corners
Lightly assess whether the inner and outer edges follow the eyelid without being forced. Do not hold the corner down manually and assume it will remain stable during the procedure.
If a corner immediately lifts:
- Re-centre the pad.
- Check whether the width is appropriate.
- Compare the neighbouring size.
- Compare a different pad shape if available.
- Confirm that the surfaces are correctly prepared.
Step 5: Test the Lash Reach
Using an appropriate lash placement tool, gently bring a small clean section of natural lashes toward the pad without applying treatment lotions.
Check whether:
- The lashes reach the intended working area.
- The tips remain within the usable surface.
- The roots can be positioned smoothly.
- The lashes can be separated without excessive tension.
- The pad remains stable while the lashes are moved.
If the lashes extend too far beyond the intended curve, consider a larger pad or a different design. If they do not reach the intended shaping area, consider a smaller size or another shape. Always compare this observation with the product-specific fitting directions.
Step 6: Confirm the Intended Styling Direction
A secure pad is not necessarily the correct pad. Confirm that its curve and working surface are also suitable for the desired lift direction.
Before proceeding, ask:
- Will this shape create the intended lift or curve?
- Is there sufficient clearance from the upper eyelid?
- Can the lashes be arranged without crossing?
- Does the product documentation support this fitting position?
Pad-Fit Troubleshooting Table
| What You Observe | Possible Fit Issue | What to Recheck |
|---|---|---|
| Both corners lift while the centre stays down | Pad curvature may not follow the eyelid | Pad shape, width and centre position |
| Only the inner corner lifts | Pad may be too wide or positioned too close to the inner eye | Alignment, width and inner-corner clearance |
| Only the outer corner lifts | Pad may extend beyond the useful working area | Width, outer-edge position and eye shape |
| The pad moves when lashes are placed | Excessive lash tension or unsuitable fit | Root distance, section size, pad shape and fixation method |
| The lashes slide or separate from the pad | Incompatible technique or excessive product | Balm or adhesive directions, product amount and lash preparation |
| The pad grips initially but releases later | Surface residue, moisture or changing tension | Preparation, placement and compatibility of all products used |
This table is a troubleshooting guide, not a substitute for the instructions supplied with the pads, adhesive, balm or lash lift system.
Self-Adhesive Pads: What “No Glue” May Mean
The terms self-adhesive, glueless and no-glue pad are not always used in the same way.
For some products, self-adhesive means the back of the silicone pad can grip a correctly prepared eyelid without a separate adhesive. It does not necessarily mean that the natural lashes will remain arranged on the front of the pad without a compatible lash lift balm, adhesive or other system-specific method.
Before use, confirm:
- Whether adhesive is required between the pad and eyelid
- Whether balm or adhesive is required between the lashes and pad
- Which products are compatible with the pad
- Whether the pad is intended for a particular treatment stage
- How the pad should be cleaned, stored or disposed of
Never interpret “glue-free” as permission to improvise with an unrelated adhesive or fixation product.
When to Use Glue Balm, Liquid Adhesive or Tape
Glue Balm
A lash lift glue balm may help position natural lashes on a compatible pad or shield. Its texture can allow the artist to work in sections and adjust separation, but the application method and compatibility must be checked against the individual balm and lash lift system.
A balm intended for arranging the lashes should not automatically be treated as an eyelid adhesive unless the label specifically permits that use.
Liquid Lash Lift Adhesive
Some traditional rods and shields use a compatible liquid lash lift adhesive for pad-to-eyelid placement, lash-to-pad placement or both. Apply it only as directed. Using too much may create buildup and make lash separation more difficult.
Professional Tape
Some trained artists use suitable professional tape as an additional positioning aid when permitted by their protocol. Tape should not replace proper pad selection, and it must be placed without contacting the eye surface or interfering with treatment product placement.
Do not use household tape or an unapproved adhesive around the eye.
How to Arrange Lashes Without Moving the Pad
Work in Small Sections
Begin with a manageable section instead of attempting to lift the entire lash line at once. This reduces sudden tension on the pad and gives the artist more control over lash direction.
Use Controlled Root Direction
Guide the lashes from the root rather than pulling only from the tips. Excessive tension can disturb the pad, distort the eyelid position or make the lashes difficult to separate.
Separate Before Adding More Product
If lashes cross or clump, correct their placement before adding additional balm or adhesive. More product can secure an existing placement error rather than solve it.
Check the Lash Line From More Than One Angle
A front view may not reveal gaps at the roots or uneven direction. Where appropriate, use a lash mirror and suitable lighting to inspect the placement without disturbing the pad.
Record What Changed During the Fit
Use the fitting table above to change one fitting variable at a time before processing. Record the original pad design and size, the corner that lifted, the alternative tried and whether the pad remained stable during lash placement. This makes the next appointment easier to assess without assuming the same fit will always work.
For example, a pad that stays down until the lashes are wrapped calls for a review of lash reach and tension as well as fixation. A corner that lifts during the initial dry-fit calls for a review of shape, width and alignment first. These are practice examples, not documented client outcomes.
Professional Workflow Checklist
- Assess the natural lashes, eyelid shape and intended result.
- Select the most likely pad size and shape.
- Prepare the eyelid and pad according to their directions.
- Dry-fit the pad without treatment lotions.
- Check the centre, inner corner and outer corner.
- Test a small section of lashes for reach and tension.
- Confirm whether a compatible balm, adhesive or other fixation method is required.
- Arrange the lashes in controlled sections.
- Correct crossed or uneven lashes before processing.
- Confirm that the pad remains stable throughout placement.
- Follow the complete instructions and warnings for the selected lash lift system.
- Record the pad design, size and fitting observations for future reference.
YSEN’S Pads, Glue Balm and Placement Tools
Choose products according to the individual lash length, eyelid fit, treatment system and intended styling direction.
Korean Lash Lift Pads
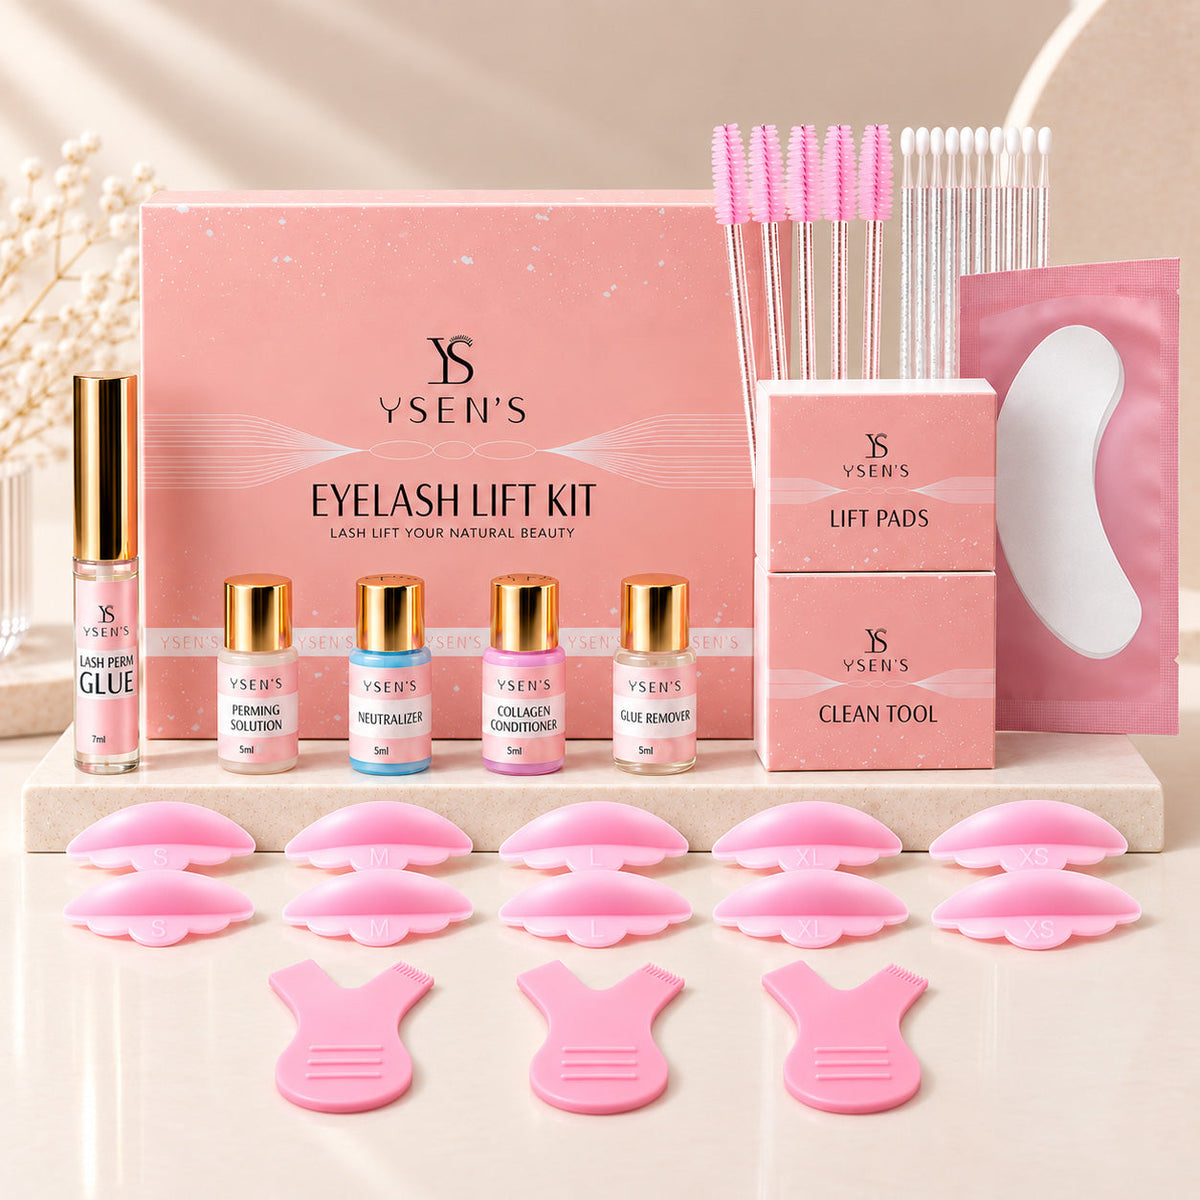
Compare self-adhesive pads, shields, rods and different working shapes in the YSEN’S Lash Lift Pads Collection.
You can also view the YSEN’S Korean Lash Lift Pads Self Adhesive. Review the current product page and directions before deciding whether additional fixation is required for the eyelid or natural lashes.
Lash Lift Glue Balm
The YSEN’S Lash Lift Glue Balm is designed as a placement product for compatible lash lift and brow lamination workflows. Check the product directions and compatibility with the pads and treatment system being used.
Lash Placement Brush
The Glue Balm Laminator Lash Lift Brush Pro is designed to assist with separating and arranging lashes during the wrapping process.
Professional Accessories
Explore lash combs, mirrors, adhesives and related tools in the YSEN’S Pro Accessories Collection.
Product Information and Responsible Use
- Read the complete label, directions and warnings for every product before use.
- Use only products intended for the relevant lash lift procedure.
- Do not substitute household, craft, strip-lash or special-effects adhesives.
- Keep products away from the eye surface and waterline.
- Do not continue if the client experiences burning, significant discomfort or another unexpected reaction.
- If contact with the eye occurs, follow the product directions and seek appropriate medical advice when necessary.
- Do not perform a treatment when contraindications identified by the product instructions or professional protocol are present.
- Products designated for professional use should be handled by appropriately trained users.
- Never assume that “self-adhesive,” “gentle” or “glueless” means risk-free.
Frequently Asked Questions
Why do the lashes keep coming off the pad?
Possible factors include residue, unsuitable product compatibility, too much or too little placement product, excessive lash tension, poor root direction or an unsuitable pad shape. Correct the placement before applying treatment lotions.
Can I trim a lash lift pad to fit the eyelid?
Only if the manufacturer’s instructions specifically allow the pad to be trimmed. Cutting an unsuitable product may change its edge, stability or working shape. Comparing another pad size or design is often the safer first option.
Can tape hold down the inner and outer corners?
Suitable professional tape may be used in some protocols, but it should not replace correct pad fitting. Only use tape intended for the relevant professional procedure and keep it away from the eye surface and treatment area as directed.
Can the same pad size be used on both eyes?
Often it can, but do not assume both eyes are identical. Natural lash length, eyelid shape and fit may differ between sides. Assess each eye and record any difference in the service notes.
Should I continue if the pad moves after lotions have been applied?
Do not ignore the movement. Follow the treatment system’s instructions for safely managing an interrupted or unstable application. Do not improvise processing times, reapplication or corrective chemical steps.
What should beginners do if they cannot keep the pad stable?
Stop before applying chemical products. Practise pad selection, dry-fitting and lash placement using the relevant training guidance. Products marked for professional use should be handled by appropriately trained users.
Related Guides
- Beginner’s Guide to Choosing Lash Lift Pads
- Shop Lash Lift Pads
- Shop Lash Lift Glue Balm
- Shop Professional Lash Lift Tools
Author: YSEN’S Content Team
Last updated: July 13, 2026
This article provides general product-selection and placement information. Always follow the current label, directions, warnings and professional protocol supplied with the specific lash lift pads, adhesives, balms and treatment products being used.

Leave a comment
This site is protected by hCaptcha and the hCaptcha Privacy Policy and Terms of Service apply.