
Brow lamination redirects existing eyebrow hairs so they can be styled into a tidier or more lifted shape. It can make the outline look fuller when the available hairs can cover more of it, but it does not grow new hairs or fill every sparse area.
Considering the service? Start with the result you want and the condition of your brows. This guide explains what to expect, the care involved and the main professional stages. The workflow section is for trained artists using the instructions for their exact products.
Is brow lamination a useful option for you?
| Your starting point | A realistic expectation |
|---|---|
| Existing hairs grow in different directions | A more organised shape may be the useful change. Discuss a soft finish or a brushed-up look with your artist. |
| You want darker brows | Colour is a separate decision. Lamination alone does not tint the hairs. |
| You want new hairs in bare gaps | Lamination works with the hairs already present. Ask what coverage they can realistically provide. |
| The skin is irritated or hairs look fragile after a recent service | Have their condition assessed before booking another chemical treatment. |
| You want a no-maintenance result | Expect some gentle brushing and system-compatible care; the first salon styling is not a permanent arrangement. |
Before booking, ask: “What change can my existing hairs create?”, “Which system will you use?” and “What care and repeat-treatment plan will I need?” A consultation should answer those questions before you commit.
What Does Brow Lamination Do?
Lamination uses a softening stage followed by a fixing stage to make brow hairs easier to arrange into the intended direction. It works with the hair already present. It does not add new hairs, and a fuller-looking outline should not be described as new growth.
Explain the difference between the salon finish and everyday maintenance. Clients may still need gentle brushing and a suitable styling product. Discuss whether they prefer a soft, tidy shape or a more lifted appearance before opening the treatment products.
| Service | Main purpose | Design question |
|---|---|---|
| Brow mapping | Plan the proposed outline and reference points | Where should the shape sit? |
| Brow lamination | Reshape the direction of existing hairs | How should those hairs lie? |
| Brow tinting | Add colour using an appropriate tint system | How much colour definition is wanted? |
Start with the Client, Not the Timer
Record the client’s previous brow treatments, product reactions and relevant skin-care or treatment history. Check the skin and hair condition against the selected system’s suitability guidance. Do not proceed over irritated or damaged skin. Complete the required patch-testing process in advance; a past uneventful service does not replace the current product instructions.
Look at both brows with the client’s forehead relaxed. Note differences in density, direction and existing shape. Ask what they like about their brows and what they want to change. A reference photograph can help the conversation, but it should not become a promise to reproduce someone else’s hair pattern.
Prepare a Complete Brow Lamination Setup
Have the correct treatment products, a timer, clean application tools, suitable cleansing materials and the manufacturer’s instructions ready before starting. Organise the workstation so the lifting, fixing and finishing products are easy to identify.
The YSEN’S Brow Lamination Kit contains five Step 1 sachets, five Step 2 sachets, 10 g Glue Balm, 7 ml Brow Nutrition and shaping and application accessories. Tint and developer are not listed among this kit’s contents. If colour is part of the service, plan it separately with compatible products.

Brow Lamination: The Professional Workflow
1. Cleanse and prepare
Remove makeup and residue using the cleanser specified for the system, and prepare the brows as directed. Do not add exfoliation, a primer, heat or an occlusive covering simply because it appears in another brand’s tutorial. Preparation is part of the formula’s working protocol.
2. Agree the shape and placement
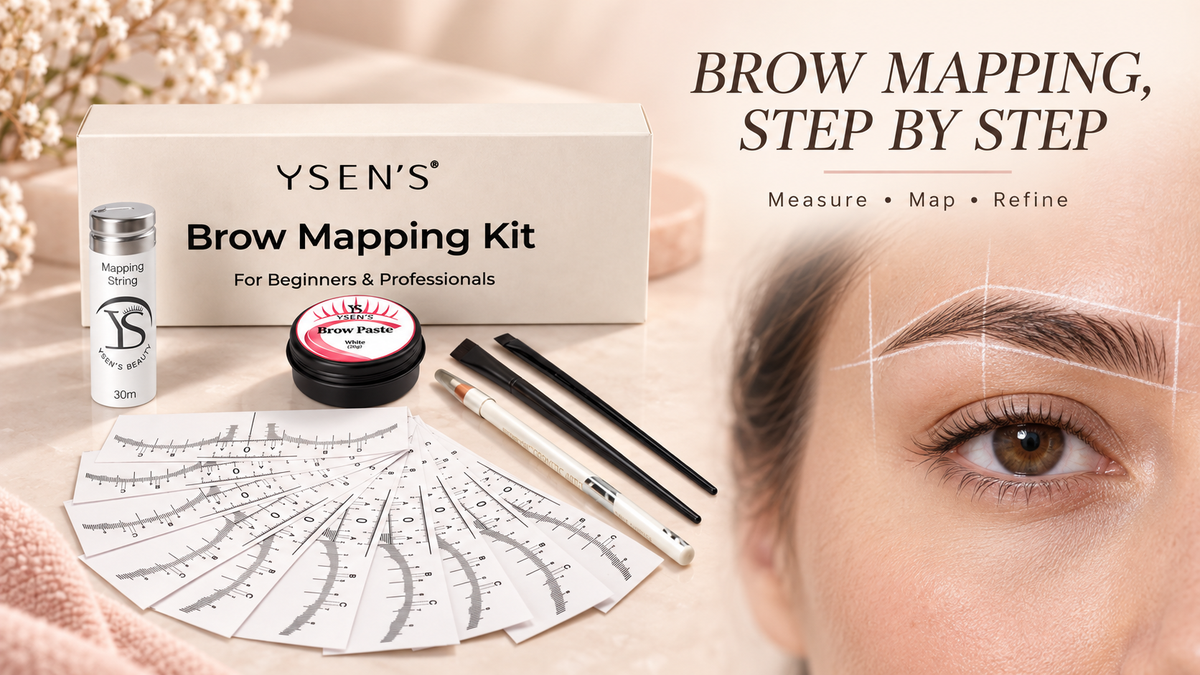
Decide how much lift is appropriate for the available hair. Use mapping if helpful, while recognising that the outline may need review once the hairs have been redirected. Mapping paste is a drawing aid; it should not automatically be treated as a barrier product for chemical processing.
The YSEN’S brow guide places Glue Balm in preparation: after cleansing and drying, brush the hairs upward, trim overly long hairs only if needed, then apply a thin layer of balm and brush into the intended shape. Prepare ring cups and application tools before beginning the treatment.
3. Apply the lifting product
Apply Step 1 within the specified treatment area and start timing according to the enclosed guide. Observe the hair response using the checks taught for that system. Do not extend processing simply to obtain a stronger visual lift, and do not pull repeatedly through softened hairs.
4. Remove Step 1 and complete fixation
Remove the lifting product by the prescribed method before proceeding to Step 2. Arrange the hairs at the stage directed by the manufacturer, then apply the fixing product for its specified time. Step 2 is a distinct treatment stage, not a conditioner that can be skipped.
5. Review, refine and finish
Remove residue as directed, then review both brows from the front: overall direction, thickness and the tails. Carry out any permitted shaping at the stage specified by the system and apply its finishing product. Keep treatment-lotion timing separate from cleaning and finishing steps; each has its own instructions.
Before the client leaves, explain how to maintain the agreed style and provide the aftercare instructions. Keep a service record of the products used, processing times and observations so the next appointment begins with useful information.
Can You Combine Brow Lamination and Tinting?
Some professional systems include tinting after fixation and before the conditioning finish. This is not permission to combine any two products. Check that the lamination and tint systems permit the combination, then follow their specific order, mixing directions and timing. The supplied YSEN’S brow-kit manual does not include a tinting step, so it does not establish a combined tinting protocol.
Agree the colour goal separately from the styling goal. A client who wants lifted hairs may not want a darker-looking brow. Check the proposed tint boundary after the hair has been positioned, and follow all required testing and product precautions.
Lamination, colour and hair removal are separate decisions. Do not add all three automatically because they appear together in a promotional image.
Professional checks that prevent avoidable problems
- Using one timer setting for everyone. Assess hair condition and use the selected product’s guidance.
- Treating more processing as a better result. Overprocessing can damage the hair; a stronger brushed-up appearance is not a reason to exceed the instructions.
- Mixing steps from different systems. Primers, covers, adhesives, removal methods and timings may be designed to work together within one protocol.
- Assuming unevenness has one cause. Review preparation, distribution, timing and natural differences before deciding what happened.
If a result is unsatisfactory, document it and seek the manufacturer’s technical guidance before considering further chemical work. An immediate repeat service should not be the default correction.
Brow Lamination Aftercare
Give clients the instructions for the products actually used. For the YSEN’S kit, the first 24 hours call for dry brows, avoidance of steam and intense heat, no oil-based brow products, and no rubbing or pulling.

After the initial care period, show the client how to brush gently into the chosen shape. Recommend only maintenance products appropriate to the treatment system. Review the hair and skin before arranging another chemical service rather than automatically repeating it when the freshly styled look begins to soften.
Frequently Asked Questions
Is brow lamination the same as brow mapping?
No. Mapping plans a shape using temporary marks. Lamination changes how existing hairs can be arranged. They can support the same design, but one does not replace the other.
How long should brow lamination products stay on?
There is no single timing rule for all formulas and clients. Use the instructions supplied with the exact products and assess the hair as directed throughout the service.
Can this YSEN’S brow kit be used on lashes?
YSEN’S confirms that the Step 1 and Step 2 lotions are used for both lash lifting and brow lamination. This kit’s tools and enclosed guide focus on brows. For lash services, use the separate lash instructions and appropriate lash-lift tools; do not transfer the brow procedure or timing to lashes.
Choose the Right Tools for the Service
Explore the YSEN’S Brow Lamination Kit for the brow treatment system, or visit Brow Mapping Tools for measuring and outlining supplies. Start with the service you intend to provide and check the included instructions before use.
Evidence basis: product contents and first-24-hour care statements refer to the current YSEN’S kit information linked above; treatment timing must come from the instructions supplied with the exact system. Professional education overview. Product-specific instructions and suitable training govern the service. Product and styling images are illustrative, not evidence of a guaranteed client result.

Leave a comment
This site is protected by hCaptcha and the hCaptcha Privacy Policy and Terms of Service apply.